Puncture & Repair
How to Fix a Tyre Puncture: Roadside and Workshop Methods
How to fix a tyre puncture safely in the UAE: a step-by-step plug kit guide, when sealant is enough, what a proper workshop repair involves and what it costs.
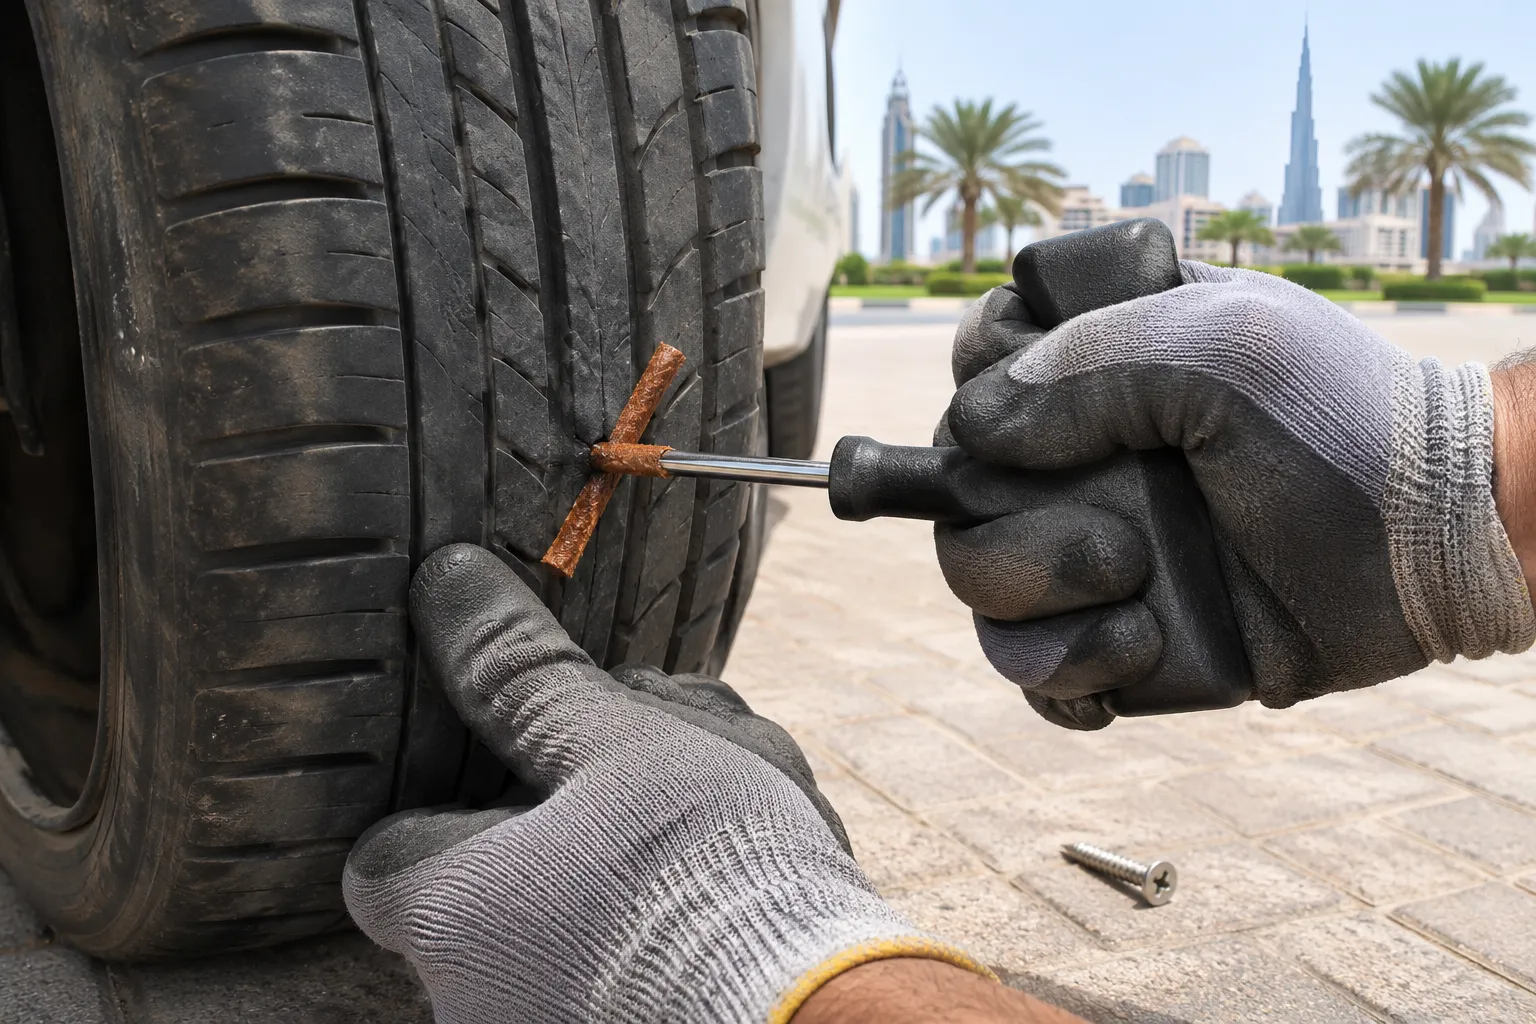
You fix a tyre puncture by finding the hole, confirming it sits in the tread and is no wider than 6 mm, then sealing it. At the roadside that means a plug kit or sealant as a temporary fix; the permanent repair is a plug-patch fitted from inside the tyre after it has been taken off the rim and checked.
Below is how I do both, in the order I would do them on a hard shoulder on the E11 or in a villa driveway in Mirdif.
Key takeaways
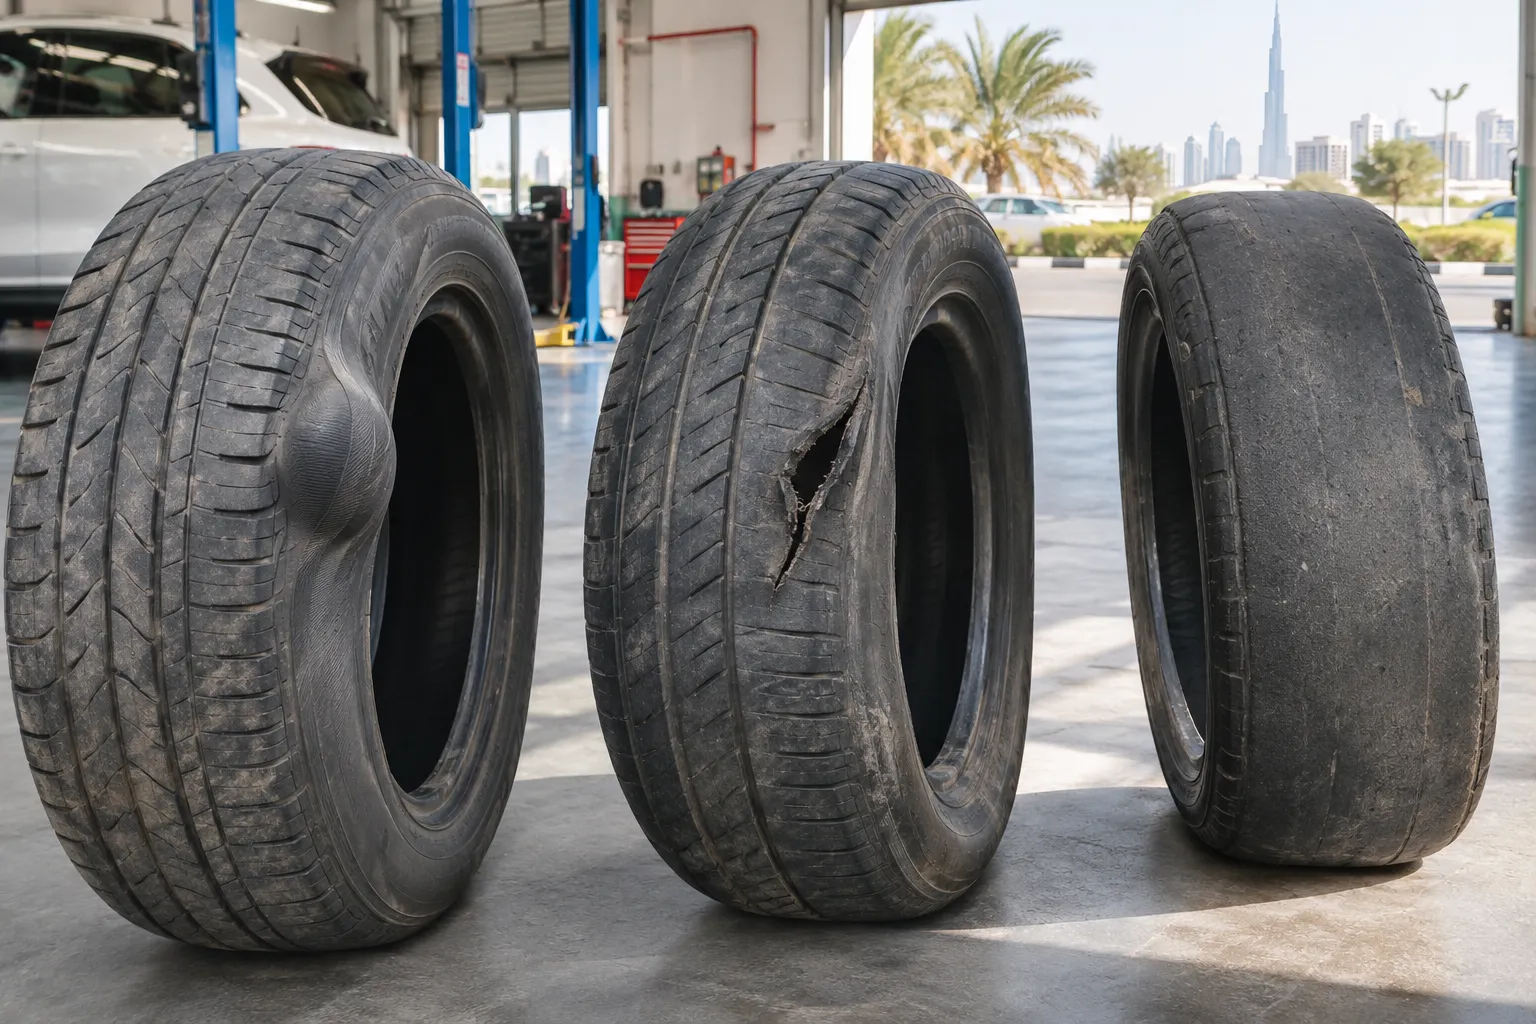
- Only tread punctures up to about 6 mm can be repaired. Sidewall and shoulder damage means a new tyre.
- A plug kit gets you moving. A plug-patch from the inside is what makes the repair last.
- Stop driving the moment the tyre looks low. Running flat for even a kilometre can wreck the inner wall.
- Sealant is a last resort, especially on cars with tyre pressure sensors.
- Workshop repair costs AED 35–50; mobile repair is AED 99–149 including call-out.
First, decide whether you should fix it yourself
Most punctures I see in Dubai come from screws and self-tapping bolts picked up near construction sites in areas like Al Quoz, Dubai South and the new communities off Emirates Road. They are almost always in the tread, which is good news. The bad news is that drivers often keep going after the warning light comes on, and by the time I arrive the tyre has been driven on low pressure and the inner sidewall is rubbed raw.
So before reaching for any kit, check three things:
- Where is the hole? It must be in the flat part of the tread, not on the shoulder where the tread rolls into the sidewall, and never on the sidewall itself.
- How big is it? A screw or nail is fine. A gash, a slit or anything wider than a pencil is not.
- Has the tyre been driven flat? Look at the sidewall all the way round. A crease, a pale ring or rubber crumbs on the rim lip mean the tyre is finished, whatever happens to the hole.
If any answer is wrong, fit the spare or call for help. Our page on what causes tyre damage has photos of what driven-flat damage looks like.
Tools you need for a roadside plug repair
A basic tyre repair kit costs very little at any petrol station and lives happily in the boot. You want:
- A reamer (the spiral rasp tool)
- An insertion needle with an eye
- Sticky rubber string plugs
- Pliers to pull out the object
- A craft knife or side cutter
- A portable 12 V compressor with a gauge
- Soapy water in a small spray bottle, if you have room
In our vans we also carry a bead breaker and a tyre machine, which is why a mobile technician can do more than a roadside kit.
Step by step: plugging a tubeless tyre at the roadside
Get the car somewhere flat and safe first. On a highway that means the far right of the hard shoulder with hazards on and passengers standing behind the barrier, not beside the car. If you cannot get fully off the road, don’t attempt the repair; our roadside flat tyre help page explains what we do instead.
- Find the object. Roll the car forward a little if needed. If you can’t see anything, inflate the tyre and spray soapy water over the tread; the puncture will bubble.
- Mark it. A piece of chalk or a dab of correction fluid stops you losing the spot once the screw is out.
- Pull the object out with pliers, straight out along the same angle it went in.
- Ream the hole. Push the rasp in and out five or six times. This cleans the channel and roughs it up so the plug can bond. It takes some force; that is normal.
- Thread the plug through the eye of the insertion needle so equal lengths hang on each side.
- Insert the plug firmly until about a third of it remains outside. Do not twist.
- Pull the needle straight out in one quick movement. The plug stays in the tyre.
- Trim the ends about 3–5 mm above the tread.
- Inflate to the pressure on the placard on the driver’s door jamb.
- Check for leaks with soapy water. A slow bubble means the plug did not seat; repeat with a fresh plug.
That’s the whole job. On a hot afternoon it is sweaty work, but it is ten minutes.
When to use sealant instead
Sealant cans and the compressor-plus-sealant kits that come with many new cars instead of a spare are fine for a single nail hole when you have no other choice. They are not my favourite, for three reasons:
- The sealant coats the whole inside of the tyre and wheel, and has to be washed out before a permanent repair.
- It can block the port on a TPMS sensor, which is expensive to replace.
- It hides the condition of the inner liner, so you can’t tell if the tyre was damaged by running low.
Most kits limit you to around 80 km/h and a short distance. Treat that as a get-to-the-workshop solution only.
Comparing the ways to fix a puncture
| Method | Where it’s done | Permanent? | Inside checked? | Typical cost |
|---|---|---|---|---|
| Liquid sealant | Roadside | No | No | Price of the can |
| String plug from outside | Roadside or mobile | Temporary | No | Kit price, or part of a mobile call-out |
| Patch only (inside) | Workshop or van with tyre machine | Yes, if channel is filled | Yes | AED 35–50 |
| Plug-patch (combi unit) | Workshop or fully equipped van | Yes | Yes | AED 35–50 |
If you want the detail on the last three, I wrote a separate comparison of tyre plugs versus patches.
What a proper workshop repair looks like
When a car rolls into our workshop with a puncture, this is the sequence:
- Remove the wheel and let the air out, removing the valve core.
- Mark the tyre’s position on the rim so it goes back the same way and stays close to its balance.
- Break the bead and take the tyre off the rim.
- Inspect the inside by hand and with a light. We are looking for the dark grey dusty strip that means it has been run soft, plus any cords showing.
- Drill the injury channel to the right size and buff the inner liner around it.
- Apply vulcanising cement, pull a plug-patch (mushroom) unit through from the inside, and roll it down.
- Seal the area with liner sealer, refit the tyre, inflate and check for leaks.
- Balance the wheel and torque the nuts to spec.
That inside inspection is the reason we prefer to demount. Last summer I had a Land Cruiser come in with what looked like a simple screw in the tread. Inside, the driver had run it at low pressure along Al Ain Road for about twenty minutes and the inner wall had a 15 cm band of shredded rubber. A plug from outside would have sealed the hole and left him driving on a tyre that was ready to fail.
Mistakes I see every week
Plugging the shoulder. The tread near the edge flexes more than the centre. A plug there works loose and leaks again, often within days.
Two plugs side by side. If the original hole was angled and the first plug leaked, the answer is not a second plug next to it. Take it to a workshop.
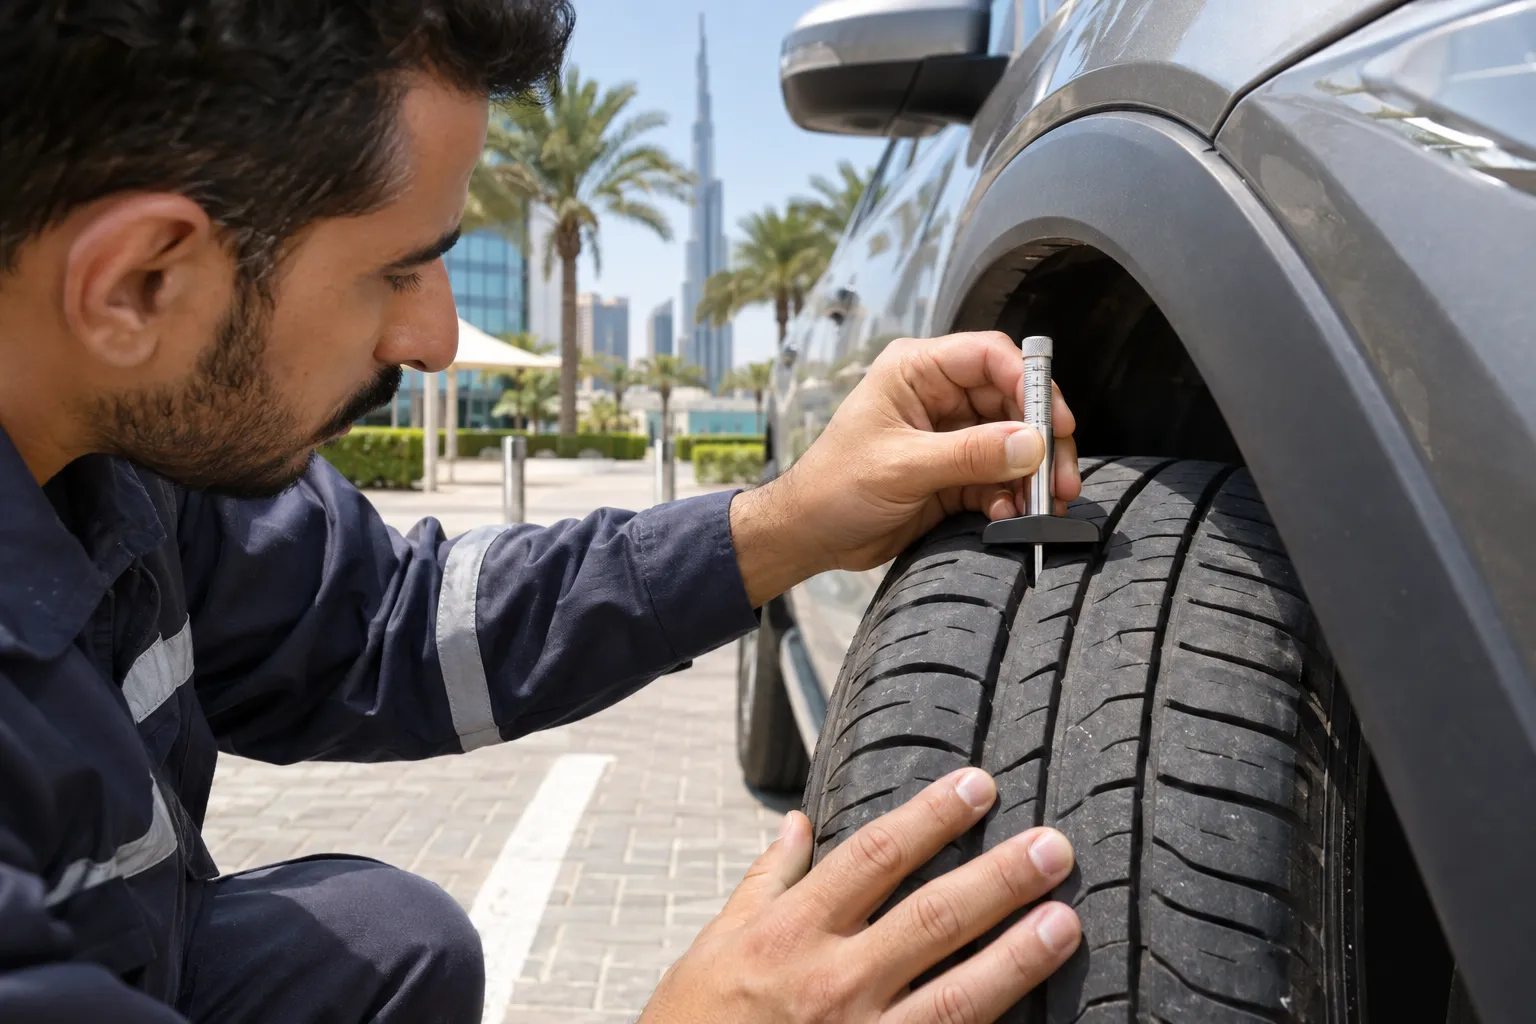
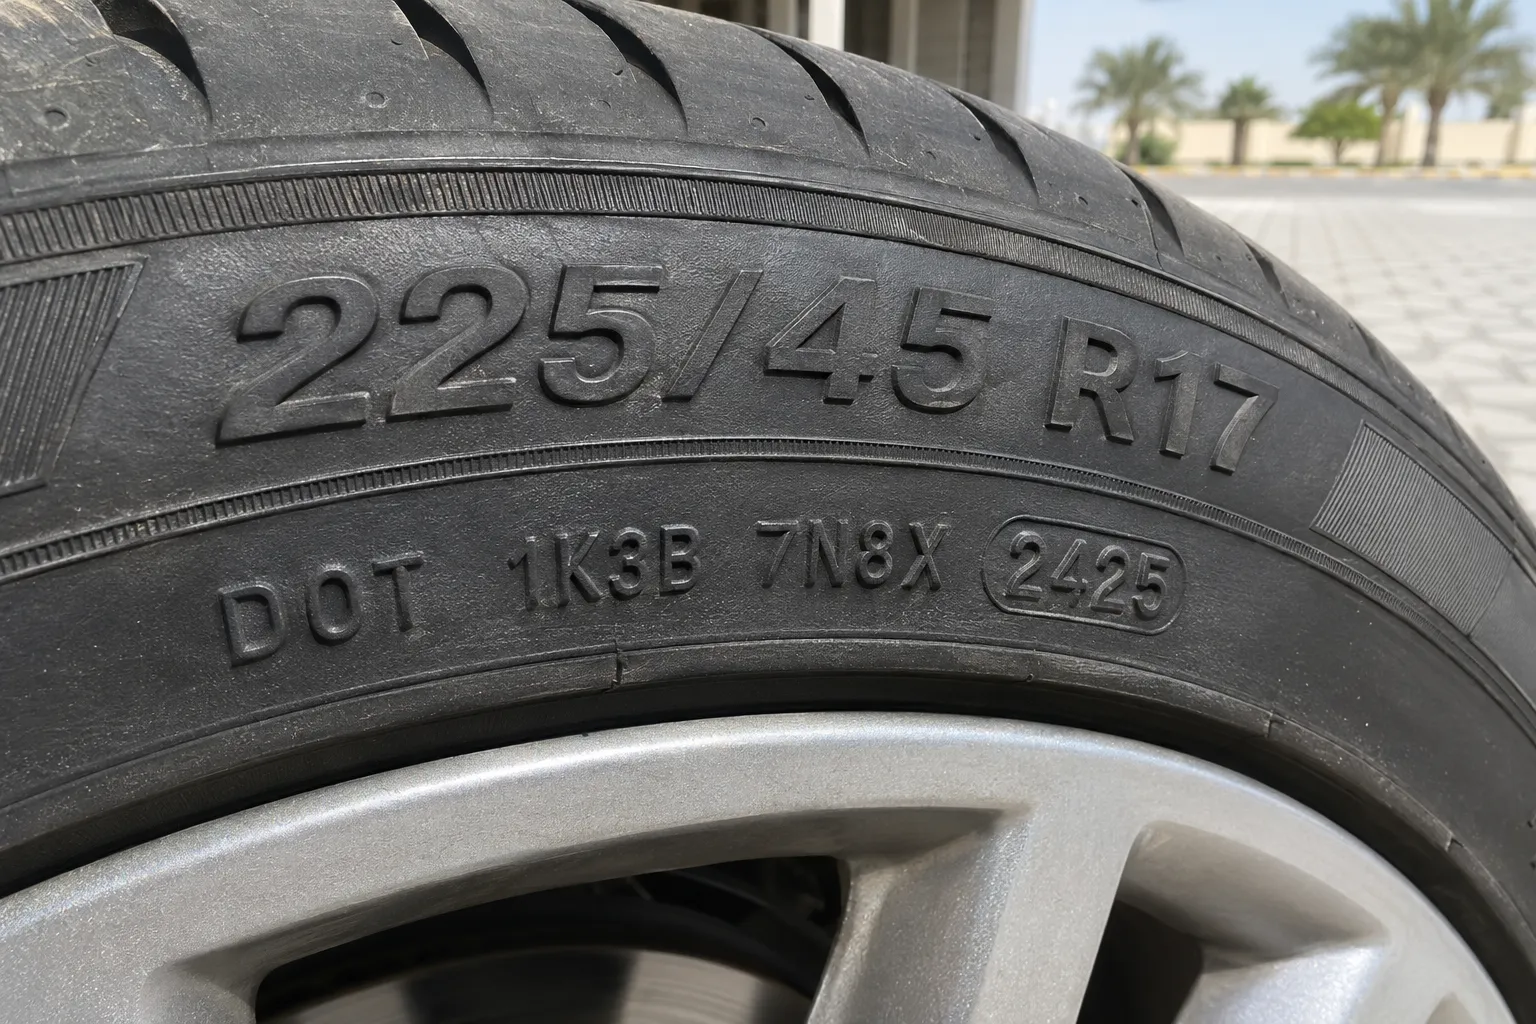
Using a tyre that’s already too old or too worn. There is no point repairing a tyre that sits under the 1.6 mm legal minimum tread or is past five years from its manufacture date. Our guide on how long tyres last in the UAE explains both limits.
Ignoring the pressure afterwards. Check the repaired tyre with a gauge the next morning and again a week later. A tyre that’s dropped 3 psi or more since the repair needs a second look.
Forgetting the spare. Many drivers fix the puncture and leave the space-saver spare on. These are speed-limited, usually to 80 km/h, and are not meant for daily driving.
How much it costs in the UAE
| Job | Price (AED) |
|---|---|
| Puncture repair at our Al Quoz workshop | 35–50 per tyre |
| Mobile puncture repair, call-out included | 99–149 |
| Night call-out, 22:00–06:00 | add 50 |
| Valve replacement | 15–25 each |
| New tyre if the puncture can’t be repaired | from 180 (budget 14–16”) |
Getting it done properly
A plug kit in the boot is worth having, and the steps above will get most drivers off the hard shoulder. But a repair you can trust for the remaining life of the tyre needs the tyre off the rim and a look inside. Bring it to the workshop, or book our puncture repair service and a van will come to your home, office or the roadside across Dubai, Sharjah and Abu Dhabi, day or night.
Frequently asked questions
Can I drive on a tyre after fixing it with a plug kit?
Yes, carefully and for a short distance. A string plug fitted from the outside will usually hold air, but the inside of the tyre has not been checked. Keep to 80 km/h and get the tyre demounted and inspected within a day or two.
How much does it cost to fix a tyre puncture in Dubai?
At our Al Quoz workshop a plug or patch repair is AED 35–50 per tyre. If we come to you, the mobile call-out including the repair is AED 99–149, with AED 50 added between 22:00 and 06:00.
Will puncture sealant damage my TPMS sensor?
It can. Liquid sealant coats the inside of the wheel and can clog the small port on a valve-mounted pressure sensor. Tell the technician you used sealant so the tyre and sensor are cleaned before any permanent repair.
How long does a proper tyre puncture repair take?
Around 20–30 minutes per tyre for a demount, inspection, plug-patch repair, refit and balance. A simple external plug at the roadside takes about 10 minutes.
About the author
Fazir Kamal — Fazir Kamal is a tyre technician with five years of hands-on work on UAE roads — roadside punctures on Sheikh Zayed Road at 2 a.m., run-flat fitments in DIFC basements, alignment on desert-driven Patrols. He writes and reviews the technical guides on TyrePuncture.ae.